Complete 2024 Web Development Bootcamp

Dr. Angela Yu

Back to Bootstrap Index Page


Move It Project Layout
Intro

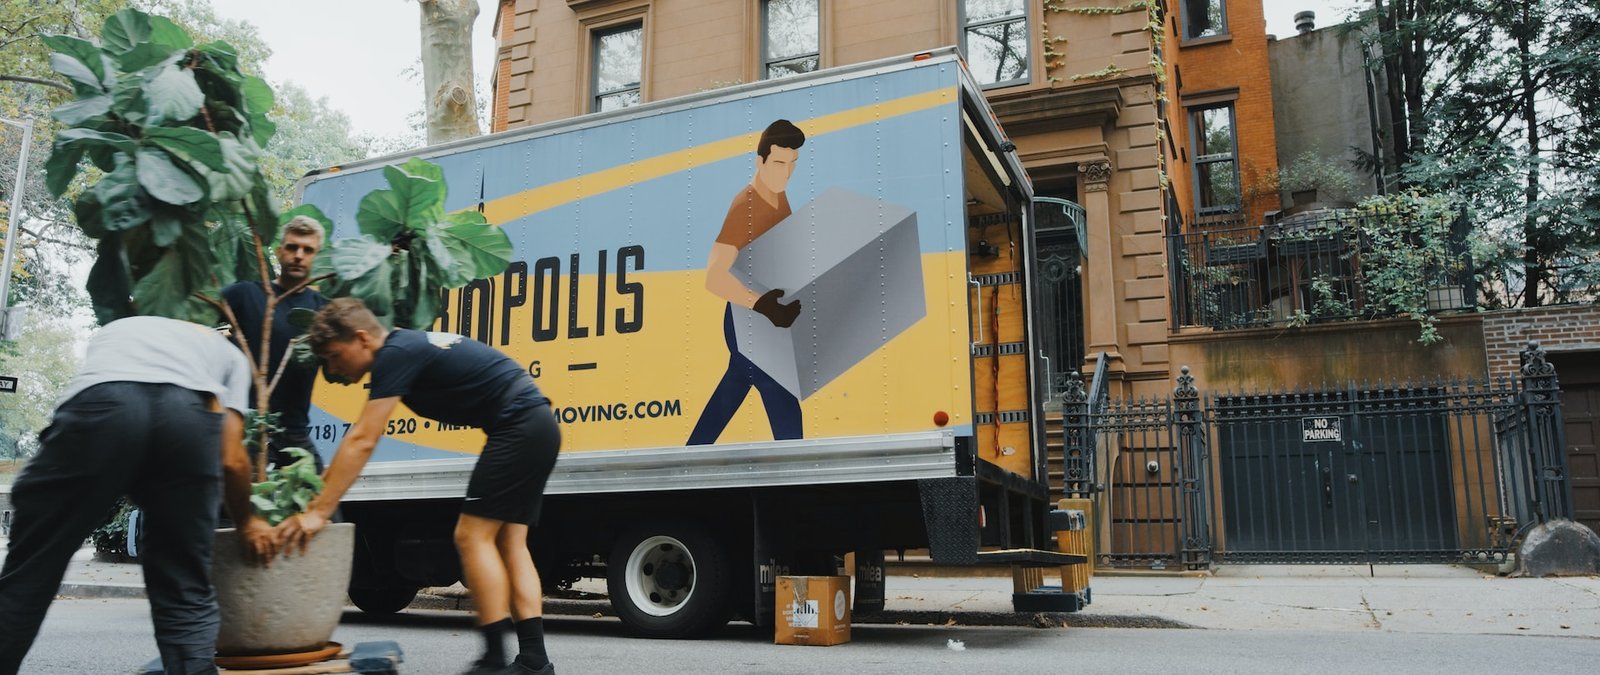
There are too many Bootstrap Components to try and describe in detail here, but we're going to create a website "Front Page" for a fictional Moving Company called Move It. This will allow us to demonstrate the configuration and use of some of the more useful Bootstrap components. We will be discussing in detail the layout of the page here, and the end result can be found here.


Link Bootstrap Files

Remember that when we're using Bootstrap, we need to go to the download page to get the links for the bootstrap code. There is one link for the CSS, which goes inside the <head> section of our page. And then there is a JavaScript link, which goes at the very bottom of our page, right before our closing </body> tag.

  • <link href="https://cdn.jsdelivr.net/npm/bootstrap@5.3.5/dist/css/bootstrap.min.css" rel="stylesheet" integrity="sha384-SgOJa3DmI69IUzQ2PVdRZhwQ+dy64/BUtbMJw1MZ8t5HZApcHrRKUc4W0kG879m7" crossorigin="anonymous">

  • <script src="https://cdn.jsdelivr.net/npm/bootstrap@5.3.5/dist/js/bootstrap.bundle.min.js" integrity="sha384-k6d4wzSIapyDyv1kpU366/PK5hCdSbCRGRCMv+eplOQJWyd1fbcAu9OCUj5zNLiq" crossorigin="anonymous"></script>
This is the beauty of using Bootstrap. Once we include these links, we don't have to write ans CSS or JavaScript code to incorporate any of the Bootstrap functionality.


navbar

The first thing we want to do is to add our "navbar" which will be displayed across the top of the page. From the Bootstrap Docs, we'll find a basic navbar that will work for our page, and modify it for our application.

One thing of note on our navbar. We're going to use an icon next to our Logo and if you go to the bootstrap docs page and on the menu at the top of the page is a link that takes you to some free "Bootstrap Icons" that you can use. We'll find a nice one to use in our navbar.

Here is the Final Navbar code:

  • HTML
  • <nav class="navbar navbar-expand-lg bg-body-tertiary">
    • <div class="container-fluid">
      • <a class="navbar-brand" href="#"><img src="./assets/images/box-seam.svg" alt="Packing Box Logo" height="28px">  Move It</a>
      • <button class="navbar-toggler" type="button" data-bs-toggle="collapse" data-bs-target="#navbarSupportedContent" aria-controls="navbarSupportedContent" aria-expanded="false" aria-label="Toggle navigation">
        • <span class="navbar-toggler-icon"></span>
      • </button>
      • <div class="collapse navbar-collapse" id="navbarSupportedContent">
        • <ul class="navbar-nav me-auto mb-2 mb-lg-0">
          • <li class="nav-item">
            • <a class="nav-link active" aria-current="page" href="#">Home</a>
          • </li>
          • <li class="nav-item">
            • <a class="nav-link active" aria-current="page" href="#">About</a>
          • </li>
          • <li class="nav-item dropdown">
            • <a class="nav-link dropdown-toggle" href="#" role="button" data-bs-toggle="dropdown" aria-expanded="false">Services</a>
            • <ul class="dropdown-menu">
              • <li><a class="dropdown-item" href="#">Packing</a></li>
              • <li><a class="dropdown-item" href="#">Loading / Unloading</a></li>
              • <li><hr class="dropdown-divider"></li>
              • <li><a class="dropdown-item" href="#">Self-Moving</a></li>
            • </ul>
          • </li>
        • </ul>
        • <form class="d-flex" role="search">
          • <input class="form-control me-2" type="search" placeholder="Zip Code" aria-label="Search">
          • <button class="btn btn-outline-success" type="submit">Check</button>
        • </form>
      • </div>
    • </div>
  • </nav>


Hero Section

The next section we're going to build is what is called the "Hero" section. What is that you ask? Well, a hero section in HTML is a full-screen section that typically includes a background image, video, illustrations, or animations with text. It is designed to capture visitors' attention and guide them further into the website. The hero section is often the first thing visitors see when they visit a website, and it plays a crucial role in making a strong first impression.

So this goes towards the top of the page and gives some information about what the company is and what they do. Once again we're going to go to the Bootstrap Examples and look for something close to what we want for our design. In our case we're going to use the "Centered screenshot" example. In order to get the code, we use the "Inspector" to copy the bootstrap code and paste it into our webpage, ready for modification. And after we've modified it for our purposes, it looks something like this:

Move With Joy

Welcome to our website, where we are on a mission to provide exceptional moving services to customers in the US. As a startup, we believe that moving doesn't have to be stressful or complicated, and we are passionate about making the process as seamless and enjoyable as possible.

Example image

and here is the code:

  • HTML
  • <div class="px-4 pt-5 text-center border-bottom">
    • <h1 class="display-4 fw-bold text-body-emphasis">Move With Joy</h1>
    • <div class="col-lg-6 mx-auto">
      • <p class="lead mb-4">Welcome to our website, where we are on a mission to provide exceptional moving services to customers in the US. As a startup, we believe that moving doesn't have to be stressful or complicated, and we are passionate about making the process as seamless and enjoyable as possible.</p>
      • <div class="d-grid gap-2 d-sm-flex justify-content-sm-center mb-5">
        • <button type="button" class="btn btn-primary btn-lg px-4 me-sm-3">Get a Quote</button>
        • <button type="button" class="btn btn-primary btn-lg px-4 me-sm-3">Contact US</button>
      • </div>
    • </div>
    • <div class="overflow-hidden" style="max-height: 30vh;">
      • <div class="container px-5">
        • <img src="./assets/images/moving-van.jpg" class="img-fluid border rounded-3 shadow-lg mb-4" alt="Example image" width="700" height="500" loading="lazy">
      • </div>
    • </div>
  • </div>


Features Section

Next we'll create a section displaying some of the important features of our brand. Go to the Bootstrap Examples and find something similar to what we want to display. We're going to use the "Columns with Icons" display because it's the closest to what we want for our page. So once again, use the "Inspector" to get our HTML Code, paste it into our project, and modify it for our use.

The final layout will look something like this:

And here is the final "Features" code:

  • HTML
  • <div class="container px-4 py-5" id="featured-3">
    • <h4 class="pl-0 pb-2 border-bottom">Why Move With Us?</h4>
    • <div class="row g-4 py-5 row-cols-1 row-cols-lg-3">
      • <div class="feature col">
        • <div class="feature-icon d-inline-flex align-items-center justify-content-center text-bg-primary bg-gradient fs-2 mb-3">
          • <img src="./assets/images/briefcase.svg" alt="Briefcase Icon" height="30">
        • </div>
        • <h5 class="fs-2 text-body-emphasis">Professional</h4>
        • <p>Our team of professional movers are trained to prioritize efficiency, .... Your memories are safe with us.</p>
        • <a href="#" class="icon-link">Get a quote
          • <img src="./assets/images/chevron-right.svg" alt="Chevron Right Icon">
        • </a>
      • </div>
      • <div class="feature col">
        • <div class="feature-icon d-inline-flex align-items-center justify-content-center text-bg-primary bg-gradient fs-2 mb-3">
          • <img src="./assets/images/bus-front.svg" alt="Bus Front Icon" height="30">>
        • </div>
        • <h5 class="fs-2 text-body-emphasis">Country Wide</h4>
        • <p>We offer a range of services to suit your .... for our services.</p>
        • <a href="#" class="icon-link">Get a quote
          • <img src="./assets/images/chevron-right.svg" alt="Chevron Right Icon">
        • </a>
      • </div>
      • <div class="feature col">
        • <div class="feature-icon d-inline-flex align-items-center justify-content-center text-bg-primary bg-gradient fs-2 mb-3">
          • <img src="./assets/images/chat-square-heart.svg" alt="Chat Square Icon" height="30">>
        • </div>
        • <h5 class="fs-2 text-body-emphasis">Personal Touch</h4>
        • <p>At our core, we believe that moving should be .... we can help you with your next move.</p>
        • <a href="#" class="icon-link">Get a quote
          • <img src="./assets/images/chevron-right.svg" alt="Chevron Right Icon">
        • </a>
      • </div>
    • </div>
  • </div>


Carousel Section

The next section we're going to add is called a "Carousel". This is an image display method that contains multiple images, and in our case, we're going to include some buttons to allow the user to change the image. Once again we'll got to the Bootstrap Docs to find an example that we can use for our site. In this instance we're going to use the carousel with "Indicators" which will give us our control buttons. Here's how it will look"

and here is the Carousel code:

  • HTML
  • <div class="container mb-3">
    • <div id="carouselExampleIndicators" class="carousel slide">
      • <div class="carousel-indicators">
        • <button type="button" data-bs-target="#carouselExampleIndicators" data-bs-slide-to="0" class="active" aria-current="true" aria-label="Slide 1"></button>
        • <button type="button" data-bs-target="#carouselExampleIndicators" data-bs-slide-to="1" aria-label="Slide 2"></button>
        • <button type="button" data-bs-target="#carouselExampleIndicators" data-bs-slide-to="2" aria-label="Slide 3"></button>
      • </div>
      • <div class="carousel-inner">
        • <div class="carousel-item active">
          • <img src="./assets/images/couple.jpg" class="d-block w-100" alt="Picture of a couple">
        • <div class="carousel-item">
          • <img src="./assets/images/dog.jpg" class="d-block w-100" alt="Picture of a dog in a box">
        • <div class="carousel-item">
          • <img src="./assets/images/family.jpg" class="d-block w-100" alt="Picture of a family">
        • </div>
      • </div>
      • button class="carousel-control-prev" type="button" data-bs-target="#carouselExampleIndicators" data-bs-slide="prev">
        • <span class="carousel-control-prev-icon" aria-hidden="true"></span>
        • <span class="visually-hidden">Previous</span>
      • </button>
      • button class="carousel-control-next" type="button" data-bs-target="#carouselExampleIndicators" data-bs-slide="next">
        • <span class="carousel-control-next-icon" aria-hidden="true"></span>
        • <span class="visually-hidden">Next</span>
      • </button>
    • </div>
  • </div>


Footer

For the "footer" section we are going to, once again, go to the Bootstrap Docs to find something similar to what we want for our page. In this case, we are going to use the very bottom example and modify it for our page. We'll have to " inspect" the element to get our code, and once it's modified for our use, it will look like this:

and here is the footer code:

  • HTML
  • <div class="container">
    • <footer class="my-5 pt-4 pb-1 foot">
      • <div class="row flex justify-content-around">
        • <div class="col-6 col-md-2 mb-3">
          • <h5>Section</h5>
          • <ul class="nav flex-column">
            • <li class="nav-item mb-2"><a href="#" class="nav-link p-0 text-body-secondary">Home</a></li>
            • <li class="nav-item mb-2"><a href="#" class="nav-link p-0 text-body-secondary">Features</a></li>
            • <li class="nav-item mb-2"><a href="#" class="nav-link p-0 text-body-secondary">Pricing</a></li>
            • <li class="nav-item mb-2"><a href="#" class="nav-link p-0 text-body-secondary">FAQs</a></li>
            • <li class="nav-item mb-2"><a href="#" class="nav-link p-0 text-body-secondary">About</a></li>
          • </ul>
        • </div>
      • </div>
      • <div class="col-md-5 offset-md-1 mt-3 mb-3">
        • <form>
          • <h5>Subscribe to our newsletter
          • <p>Monthly digest of what's new and exciting from us.</p>
          • <div class="d-flex flex-column flex-sm-row w-100 gap-2">
            • <label for="newsletter1" class="visually-hidden">Email address</label>
            • <input id="newsletter1" type="email" class="form-control" placeholder="Email address">
            • <button class="btn btn-primary" type="button">Subscribe</button>
          • </div>
        • </form>
      • </div>
      • <div class="d-flex justify-content-start px-5 pt-4 my-1 border-top">
        • <p>© 2025 Company, Inc. All rights reserved.</p>
      • </div>
    • </footer>
  • </div>


Conclusion

In conclusion, we have learned that we can take "pre-built" Bootstrap Examples, and incorporate them into our design very quickly, to produce a professional and effective webpage. And of course if we were building a real, working website, we would make all of the links, and inputs work as designed.

Another important aspect of Bootstrap is spacing. Margins and Padding. Bootstrap has a particular way of expressing these and more information can be found here.

Another interesting aspect of Bootstrap now, is that it supports "color modes". What are color modes? Color modes allow you to quickly change the page theme from "Light" to "Dark" by adding [ data-bs-theme="dark" ] to the opening <html> element at the top of the page. More Information can be found here.

So we've seen how quickly and easily we can create sites using Bootstrap components and snippet examples, but there is another resource for free Bootstrap Templates at https://www.w3schools.com/bootstrap/bootstrap_templates.asp


Back to Top